Recessed Lighting Layout for Your Kitchen Remodel
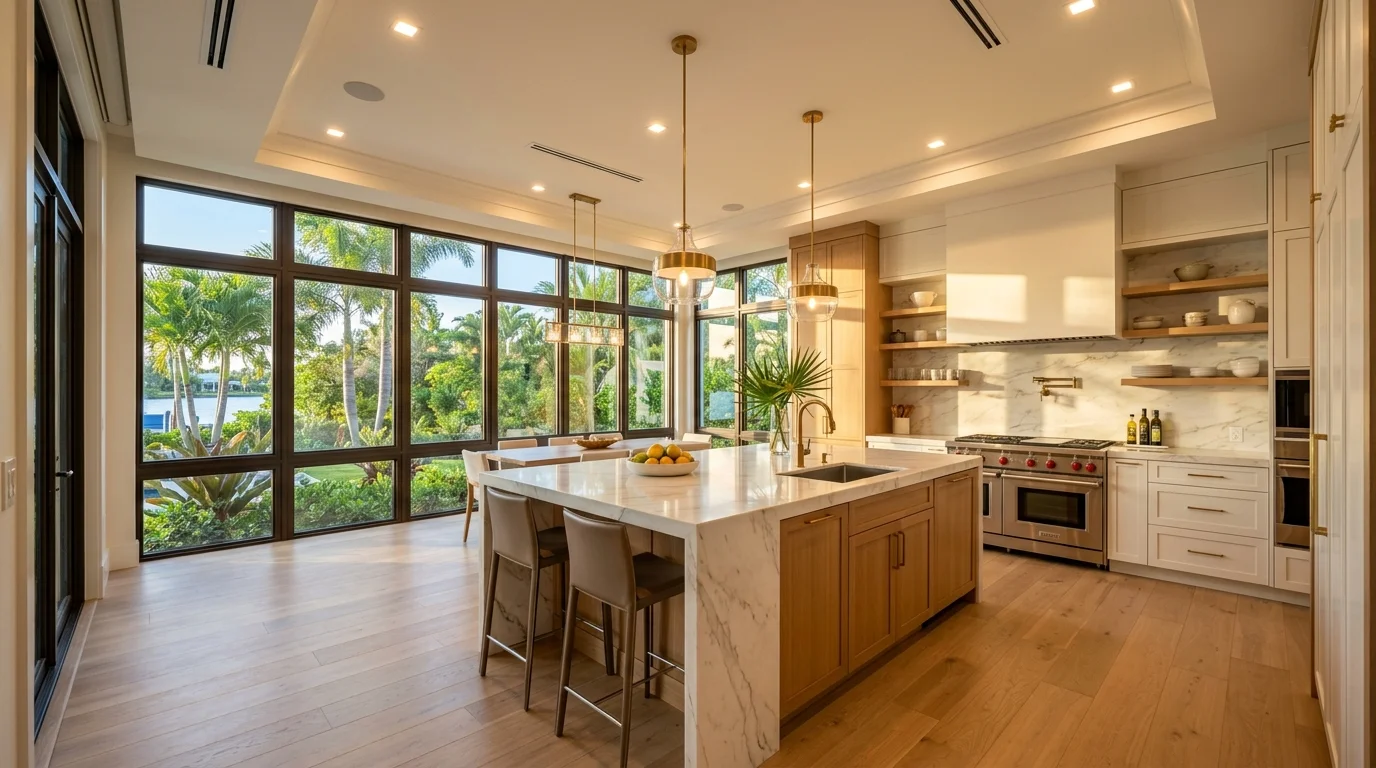
Getting your recessed lighting kitchen layout right makes the difference between a kitchen that functions beautifully and one that leaves you squinting at your prep work. After designing hundreds of kitchens across Palm Beach County, we've learned that proper lighting placement isn't just about aesthetics, it's about creating a workspace that actually works for how you cook and live.
Most homeowners underestimate lighting impact until they're standing in their finished kitchen wondering why the shadows fall exactly where they need to see. The good news? There are proven formulas for spacing, sizing, and layering your recessed lights that work in everything from Boca Raton condos to Jupiter estate kitchens.
Spacing Fundamentals
The golden rule for recessed lighting spacing is simple: divide your ceiling height by two. Eight-foot ceilings call for lights spaced four feet apart. Ten-foot ceilings need five-foot spacing. This prevents the disco ball effect you see in poorly planned kitchens where lights are too close together.
But kitchens aren't living rooms. You need targeted task lighting over work areas. We place recessed lights 18-24 inches from your cabinet faces to eliminate shadows on countertops. Any closer and you'll get glare off your countertop surfaces. Any farther and you're working in your own shadow.
Islands and peninsulas need their own lighting plan. Center lights over the island, then space additional lights every 24-30 inches depending on island length. A 6-foot island typically needs two lights. An 8-foot island needs three. This creates even illumination without hot spots or dead zones.
Don't forget about your sink area. Place one recessed light directly over the sink, slightly toward the room side rather than the window side. This gives you clear visibility for food prep and cleanup without casting shadows from your body position.
Can Size Selection
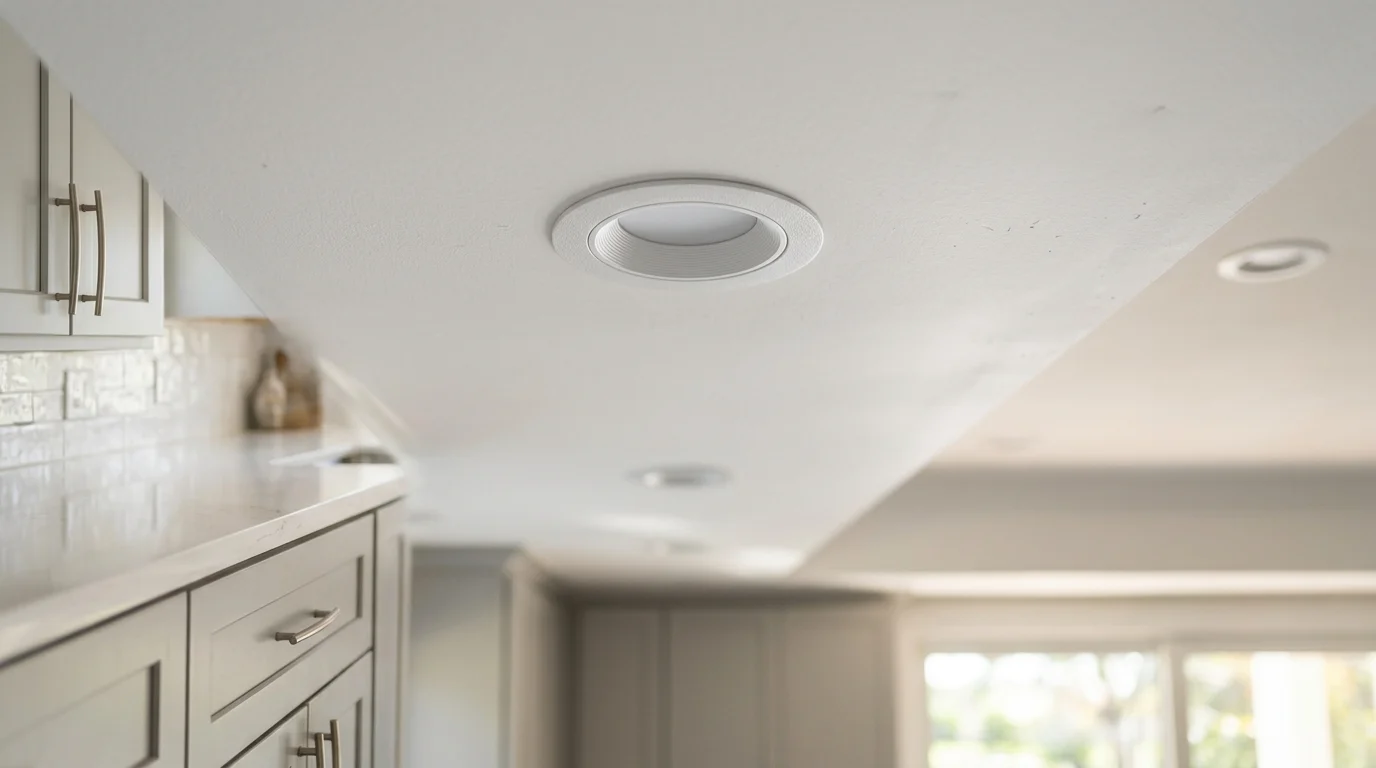
Can size affects both light spread and ceiling appearance. Four-inch cans work well for accent lighting and smaller spaces. Six-inch cans provide better general illumination for most kitchen applications. We rarely use anything larger than six inches in residential kitchens, they start looking commercial.
The trim style matters more than most people realize. Baffle trims reduce glare, making them good for task areas. Reflector trims maximize light output, useful for general ambient lighting. Adjustable trims let you angle light toward specific areas, perfect for highlighting artwork or architectural features.
LED integrated cans have become our standard recommendation. They produce less heat than retrofit LED bulbs in standard housings, important in Florida's climate where your HVAC system works hard enough already. The color consistency is better too, no more buying six LED bulbs that all look slightly different when installed.
Color Temperature Guide
Color temperature changes how your kitchen feels and how food looks. Warm white (2700K-3000K) creates a cozy atmosphere but can make food prep difficult. Cool white (4000K-5000K) provides excellent task lighting but feels clinical for dining. Daylight (5000K-6500K) matches natural light but can feel too stark for evening use.
Our recommendation? Stick with 3000K for most residential kitchens. It balances warmth with functionality. If your all-white kitchen design feels too sterile, 3000K adds just enough warmth to feel inviting.
Avoid mixing color temperatures in the same space unless you're using separate circuits with different purposes. That 2700K can over your breakfast nook will clash with 4000K task lighting over your island. Your eye notices the difference immediately.
Consider dimmer switches for every recessed lighting circuit. This lets you adjust brightness for different activities, bright for cooking, dimmed for entertaining. Use LED-compatible dimmers to avoid flickering and buzzing issues.
Layering Light Sources
Recessed lighting alone creates a flat, one-dimensional space. Professional kitchen lighting uses three layers: ambient (general), task (work areas), and accent (visual interest). Recessed lights typically handle ambient lighting, with other fixtures filling the remaining roles.
Pendant lights over your island add personality while providing focused task lighting. Under-cabinet lighting eliminates shadows on countertops that even well-placed recessed lights can't fully address. Both complement your recessed lighting rather than competing with it.
Don't overlook natural light in your lighting plan. South-facing kitchens in Wellington get intense afternoon sun that can make artificial lighting look yellow and dingy. North-facing kitchens in Delray Beach stay cooler but need more artificial light during the day. Plan your recessed lighting to work with your windows, not against them.
Control systems matter more than fixtures in creating usable lighting. Separate switches for different zones let you light only what you need. A dimmer for your island pendants, a switch for perimeter recessed lights, and separate under-cabinet lighting controls give you complete flexibility.
Cost Guide
Recessed lighting costs vary significantly based on fixture quality, installation complexity, and electrical work required. Here's what you can expect for a typical Palm Beach County kitchen lighting project:
Installation complexity drives cost more than fixture selection. New construction or gut renovations where walls are open cost significantly less than retrofitting finished ceilings. Vaulted ceilings, concrete construction, or limited attic access can double installation costs.
Smart home integration adds $100-$300 per room depending on the system. Lutron Caseta dimmers integrate well with most smart home platforms and provide reliable dimming performance with LED fixtures.
South Florida Considerations
Florida's climate affects lighting choices more than most homeowners realize. High humidity and salt air near the coast can corrode fixtures over time. Look for IC-rated (insulation contact) housings that handle our climate better and allow insulation to touch the fixture without fire risk.
Many Palm Beach County homes have poured concrete construction that makes retrofitting recessed lighting expensive. Plan your lighting during kitchen remodels when ceilings are accessible. The alternative, surface-mounted track lighting or pendant fixtures, often works better aesthetically anyway.
HOA architectural guidelines in gated communities often restrict exterior lighting changes but rarely address interior modifications. Still worth checking if your kitchen lighting plan includes any fixtures visible from the street or common areas.
Hurricane impact windows change how natural light enters your kitchen. The laminated glass filters some light wavelengths, making colors appear slightly different. Test your LED color temperature with your actual windows before finalizing fixture selection. What looks perfect in the showroom might feel off in your specific space.
Energy efficiency matters more in South Florida where air conditioning runs most of the year. LED recessed lights produce 75% less heat than traditional incandescent fixtures. That heat reduction translates to lower cooling costs over time. The Department of Energy estimates LED lighting can reduce total energy consumption by 20-50% compared to traditional lighting.