Kitchen Island Dimensions: Size & Seating Guide
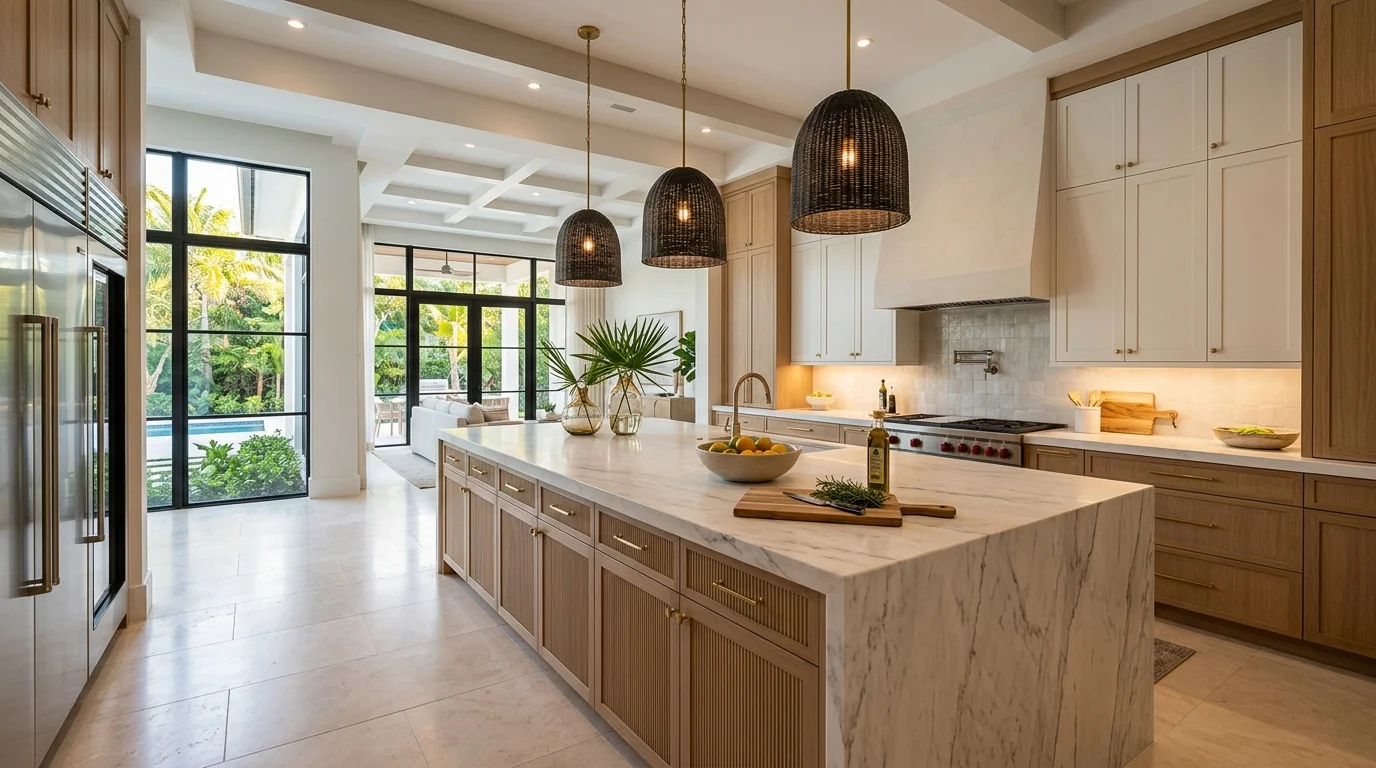
Getting kitchen island dimensions right before you buy a single cabinet or slab is one of the most important decisions in any kitchen remodel. Too small and the island feels like an afterthought. Too large and you've turned a cooking space into an obstacle course. Our team designs and installs islands across Palm Beach County, in Boca Raton, Delray Beach, Wellington, Jupiter, and everywhere in between, and the number one sizing mistake we see is homeowners picking an island based on what looks good in a showroom rather than what actually fits their floor plan. This guide covers standard island sizes, clearance requirements, seating overhangs, work triangle impact, and rough-in considerations so you can walk into your design consultation with a realistic plan.
Standard Island Sizes
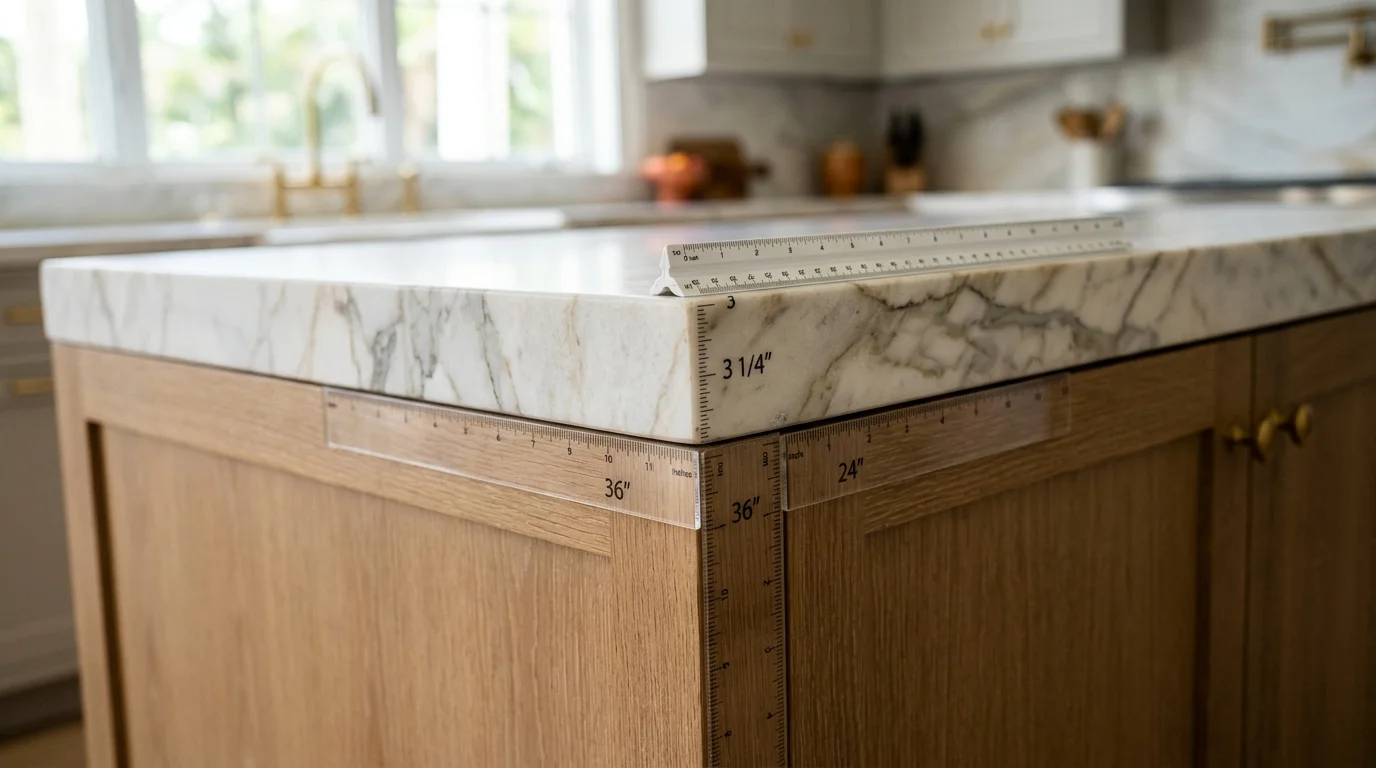
Most kitchen islands fall into a few common footprints, and those dimensions are driven by cabinet module sizes more than anything else. Base cabinets come in 3-inch increments, so islands typically land at 24", 30", 36", 42", or 48" in depth, and anywhere from 36" to 96"+ in length.
For a no-seating prep island, the sweet spot is 36" deep × 48", 60" long. That gives you a full run of base cabinets on both sides, or cabinets on one side and open shelving on the other, without eating your clearance. The countertop overhangs 1.5" on all sides by default (standard countertop edge practice), so the finished surface reads about 39" × 63". That's workable in a kitchen that has at least 42" of clearance on every traffic side.
If you want seating, length starts at 48" for two stools and climbs fast. Two comfortable seats need 48", 54". Three seats need 66", 72". Four seats need 84", 96". These aren't arbitrary numbers, each seated person needs 24" of linear counter space at minimum, and 26", 28" is genuinely comfortable. We recommend 27" per seat as the working standard for most homes.
Depth for seating islands changes too. A standard 24"-deep base cabinet island needs a countertop overhang of at least 12" on the seating side to give knees somewhere to go. That means the finished counter depth on that side is 36" (24" cabinet + 12" overhang). Add 1.5" on the working side and the slab runs about 38" total, so plan your countertop quote accordingly. If you're comparing materials, our guide to the best countertops for Florida kitchens breaks down which slabs hold up best to South Florida heat and humidity.
One more dimension people forget: island height. Standard counter height is 36". Bar height is 42". Most South Florida homes we work in use 36" for the working surface and step up to 42" on the seating side with a raised bar, that design keeps the prep mess hidden from the living room, which matters in open-concept layouts. A flat 36" island paired with counter-height stools (18", 19" seat height) works just as well and is friendlier for shorter family members and aging-in-place design considerations.
Clearance Rules That Actually Matter
The National Kitchen & Bath Association (NKBA) sets the industry benchmark for kitchen clearances. Their guidelines call for a minimum of 42" between any island edge and a parallel wall or cabinet run in a one-cook kitchen, and 48" for a two-cook kitchen. Those are minimums. We push clients toward 48" even in single-cook layouts whenever the floor plan allows it.
Why? Refrigerator doors. In South Florida kitchens, especially the French door and counter-depth units that are popular in Boca Raton and Jupiter homes, a fully open door swings 24", 26" into the aisle. If your island is 42" away from the fridge, you've got 16", 18" of walkable space when that door is open. That's tight with groceries in hand. Go to 48" and you have a workable 22", 24". Go to 54" and it's genuinely comfortable.
Dishwasher doors are the other trap. A standard dishwasher door drops 24" onto the floor. If the island is directly across from the dishwasher and you're only at 42" clearance, loading and unloading requires sidling past an open door every single time. Our team always flags this during the design phase, it's one of those things that's invisible on a floor plan but maddening to live with.
Corner clearances matter too. If your island has a corner that sits near a range or a walkway entry point, NKBA recommends 48" from the range burners to any island surface for safety. The Florida Building Code defers to NKBA's kitchen planning guidelines on these dimensions, so they're not just best practice, they're the reference standard your general contractor will use when reviewing the layout.
One scenario we run into constantly in Wellington and Delray Beach: homeowners with a 12'×14' kitchen who want a 4'×6' island. That's possible, but it requires strict discipline with appliance placement and cabinet depth. If you're weighing whether an island even makes sense for your layout, our breakdown of kitchen peninsula vs. island options is worth reading first, sometimes a peninsula attached to a wall gives you the same counter space with better clearance management.
Seating Dimensions & Overhang
This is where we see the most spec errors in competitor installs that clients bring to us for corrections. The overhang on a seating island isn't just about aesthetics, it's structural and ergonomic.
A 12" overhang is the bare minimum for knee clearance on a standard 36" counter-height island. At 12", most adults can sit comfortably on a counter-height stool (seat height 24", 26") with their knees tucked under. But 12" doesn't give you much room to pull in close. Our recommendation is 15" for counter-height seatingthat's the NKBA standard and what we spec on nearly every island we design.
For bar-height seating at 42", you need the same 15" overhang minimum, but the stool seat height jumps to 28", 30". The extra height shifts your center of gravity differently, so the knee clearance needs are slightly different, but 15" still works well. Going to 18" at bar height creates a very comfortable lean-in eating position and works especially well in homes where the island doubles as a homework station.
Overhang support is not optional beyond 12". Quartz and granite slabs have excellent compression strength but poor tensile (bending) strength. A 15" overhang on a 3cm quartz slab is fine over a solid substrate. But push to 18"+ and you need either corbels, steel support brackets underneath the counter, or a mitered waterfall leg at the end. This is a fabrication-phase conversation, not a design afterthought. If you're considering a waterfall end panel, our waterfall countertop cost guide covers the structural and pricing details.
Stool spacing is the other dimension homeowners underestimate. Each stool needs 26", 28" of linear space, but that's center-to-center, not edge-to-edge. The stools themselves are typically 16", 18" wide, so you've got 8", 12" of breathing room between them. In real life, that's fine for everyday use but tight if you have kids who swing their arms or adults who like to swivel. If budget allows, spec the island 6" longer than you think you need. An extra 6" costs relatively little in cabinetry and slab but makes a noticeable difference in daily comfort.
Work Triangle & Workflow
The classic work triangle, sink, range, refrigerator, was designed for galley and U-shaped kitchens. In an open-concept layout with an island, it evolves into what designers now call a work zone model: a prep zone, a cooking zone, a cleanup zone, and a landing zone. The island usually anchors the prep and landing zones, and its placement relative to the other three points determines whether your kitchen actually functions well.
The NKBA's updated planning guidelines say no single leg of the work triangle should exceed 9 feet, and the total perimeter shouldn't exceed 26 feet. When an island sits in the middle of that triangle, it should not interrupt traffic between any two points by more than a few steps. If someone has to walk around the island to get from the range to the refrigerator, the island is in the wrong position, or it's too large for the space.
Landing zones are a practical concern that's easy to overlook. Every major appliance needs 15", 18" of counter landing space adjacent to it. The refrigerator needs landing space on the handle side. The range needs it on at least one side (both sides preferred). The microwave needs it below or beside. An island can serve as the landing zone for a range across a 42", 48" aisle, in fact, that's one of the best uses of an island in an open-concept layout. But if the island is too far away (more than 48"), you're carrying hot pans across open floor rather than setting them down immediately.
If your kitchen is on the smaller side and you're weighing a permanent island against a movable cart, our small kitchen island ideas guide has practical options for Palm Beach County homes under 150 square feet of kitchen floor space. And if your kitchen has a galley layout, read our galley kitchen remodel guide before committing to an island, there are layouts where it simply doesn't work without removing a wall.
Electrical and plumbing rough-in deserve their own conversation. If you want a prep sink or dishwasher in the island, your GC needs to run supply and drain lines under the slab before the floor goes down. This is not a task for the finish phase, it has to be coordinated before cabinetry installation. Same with electrical: a dedicated circuit for an island cooktop, receptacles for small appliances, and under-cabinet or in-island lighting all need to be roughed in early. Per the Florida Building Code, kitchen islands require at least one 20-amp GFCI-protected receptacle, and if the island is more than 12" wide and 24" long, two receptacles are required on separate circuits. Your GC handles permit pulls and inspections for those scopes. Our team coordinates the cabinet and countertop installation around the rough-in work so nothing has to be redone.
Cost Guide
Island costs in Palm Beach County vary significantly based on if you're adding a freestanding island to an existing kitchen or building a new island as part of a full remodel. The cabinet box and countertop are the core costs; plumbing and electrical add-ons are scoped separately by your GC. For broader kitchen remodel budgeting context, our kitchen island budget guide for Palm Beach County goes deeper on total project pricing.
A note on stools: they're not included in any cabinetry quote. Budget $150-$500 per stool for quality options. Buy them after the island is installed so you can verify height and clearance against the actual finished counter, not the spec sheet.
South Florida Considerations
Building an island in a Palm Beach County home comes with a few regional realities that don't show up in national design guides.
Open-concept is the norm here. Most of the kitchens we work in, from Jupiter ranch homes to Boca Raton waterfront properties, are fully open to the living and dining areas. That means the island is visible from multiple angles, and the countertop material choice matters more than it would in a closed kitchen. We see a lot of Taj Mahal quartzite and leathered granite on islands in this market because they photograph well and hold up to the UV exposure that floods through impact glass doors. Our countertop materials guide for Florida humidity covers what actually performs well in our climate versus what looks good in a catalog.
HOA and ARB restrictions are a real factor in gated communities throughout Wellington and Palm Beach Gardens. If you're adding an island that requires moving a gas line or relocating plumbing, your GC typically prepares the permit package, and some HOAs require architectural review before any structural work begins. Our team supplies the design drawings and material samples for those submissions; the GC coordinates with the building department and HOA directly.
Humidity affects cabinetry. Wood movement in South Florida's climate is real, and it's more pronounced in islands than in perimeter cabinets because islands often sit on tile floors with air circulation underneath. We recommend frameless cabinet construction with a furniture-grade finish and a moisture-resistant interior box, particularly for islands near exterior walls with impact sliding doors. Our frameless vs. framed cabinet comparison explains the structural differences and why frameless tends to perform better in humid climates.
Finally, pendant lighting placement over the island is worth planning before the electrical rough-in is done. The standard rule is one pendant per 24", 30" of island length, centered over the counter. But pendant height, bulb type, and fixture size all affect how well the island works as both a task surface and a design focal point. Our pendant lighting over kitchen island guide walks through sizing and placement so the electrician rough-in lands exactly where it needs to be.